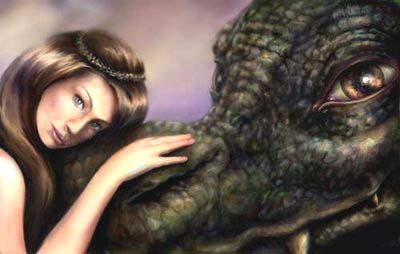
 5) The image is approaching its finished stages.
I decided that the dragon didn't quite look right. The other eye should be visable. I also added another tooth for affect and brought out the nostril a bit more, so that the princesses hand didn't look like it was hovering in mid air!
At this stage all the work is done whilst zoomed right in. I carried on playing around with the contrast and light in areas until I achieved a light romantic feel .
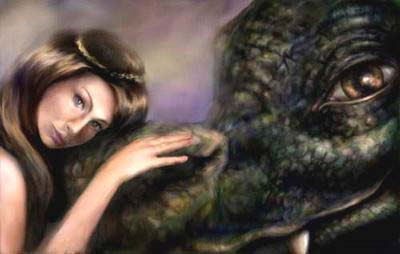
4) This is the point where I decide to add more texture. Especially for the dragons skin. The burn and dodge tool are great at this point to bring out the shadows and highlights. I also make adjustments with the contrast for the whole image.
I was originally going to make it a night time scene, but I like the colours that I can use if it is set at dusk.
The clone and smodge tool are also used a great deal at this point. I use them in the same way as if I'm mending a scratched photograph, zooming in on different areas.
I was originally going to make it a night time scene, but I like the colours that I can use if it is set at dusk.
The clone and smodge tool are also used a great deal at this point. I use them in the same way as if I'm mending a scratched photograph, zooming in on different areas.
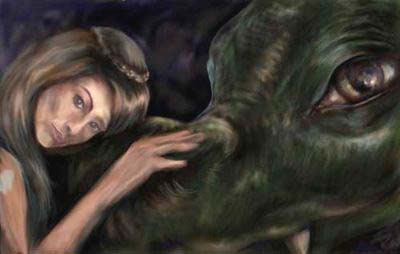 3) Now I start concerntrating on getting the proportions right, before I get into too much detail. I have decided to have the princess figure looking straight at the viewer to give the image more intamacy.
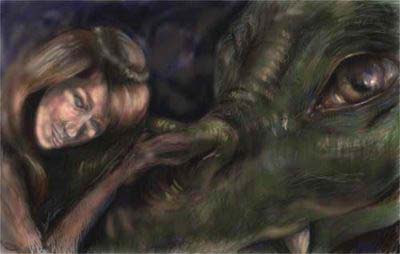
2) I try and keep the majority of the drawing in a mid tone so that you can see both shadows and highlights. It helps me to create a more realist 3D image at the end. At this point I'm trying to build up the whole image with colour so that I have a good base to work on. 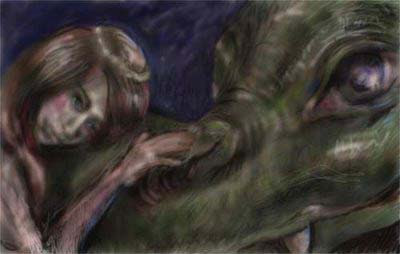

1) I make a start by quickly sketching the composition with a basic paint brush tool using a mid opacity so that I can see all the strokes. I then decide which shapes I like best. At this stage I'm not too worried about getting proportions right, in case I make any drastic changes.